Sunday 26 March 2017

Hike up to the Pinnacles Hut – Coromandel Forest park


The Pinnacles hut is the Department of Conservation’s largest hut located in the Coromandel Forest Park. The Pinnacles (a large high rock outcrop) is located a short walk from the hut, so it’s a popular day or overnight walk. There are two main tracks up to the hut, one long and one short. I’ve walked the shorter option before, up the Web track and down the Billy goat track and I really wanted to walk the longer track (Via Moss Creek). There is also a long one way track to the north which would be interesting to check out.

The Web track and Billy Goat track are both very well maintained tracks for the high number of tourists which make the hike up to the Hut. Having walked both, my preference is for the Billy Goat track, it’s slightly longer, with better and more varied views. For this hike I wanted to go via the Moss Creek campsite. This track is much longer (8 hours), less maintained (very muddy) and DoC tries to steer people away for walking this route. 

An example of the Webb track

I understand why DoC tries to talk people out of it, the hut warden was telling me he often has people arriving  at the hut at 8,9, 10 even 11pm at night having miss judged the track and their own fitness. And he was talking about the 3 hour track. I was confident in my ability and fitness to tackle this track, and I knew the friends coming with me would be capable as well. Since I wasn’t sure how hard the track would be, I was prepared for something tough. While the track was somewhat tough, it really didn’t bother me at all, the Bell track up Mt Pirongia was far harder.

The first hour of the walk for the road end was pretty easy; the first little section is part of the main Webb track before it split off towards Moss Creek. The track was definitely less maintained, and had a couple of windfalls to get around, but nothing major. After the first hour it started going up, and up, and up. Often a hands and feet climb that went on for nearly two hours gaining approximately 580m of elevation. This section was most of the elevation we would gain, so it got the hardest part out of the way first.

Great views on the way up

The mud started just before the turn off to the Moss Creek campsite. We stopped for lunch at the campsite, approximately 10 minutes off the main track. The view was not bad, but that’s about all the camp site had (a picnic table would have been a great addition). On the way back to the main track we spotted a 3 bed hut just off the track less than 5 minutes from the camp site. It was a cool little hut and not on any maps I’ve seen.

The Moss creek camp site
Walking through a swamp

The next section as a whole lot of mud, a bit of a pain, but nothing compared to Mt Pirongia so it really wasn’t a problem. There was 
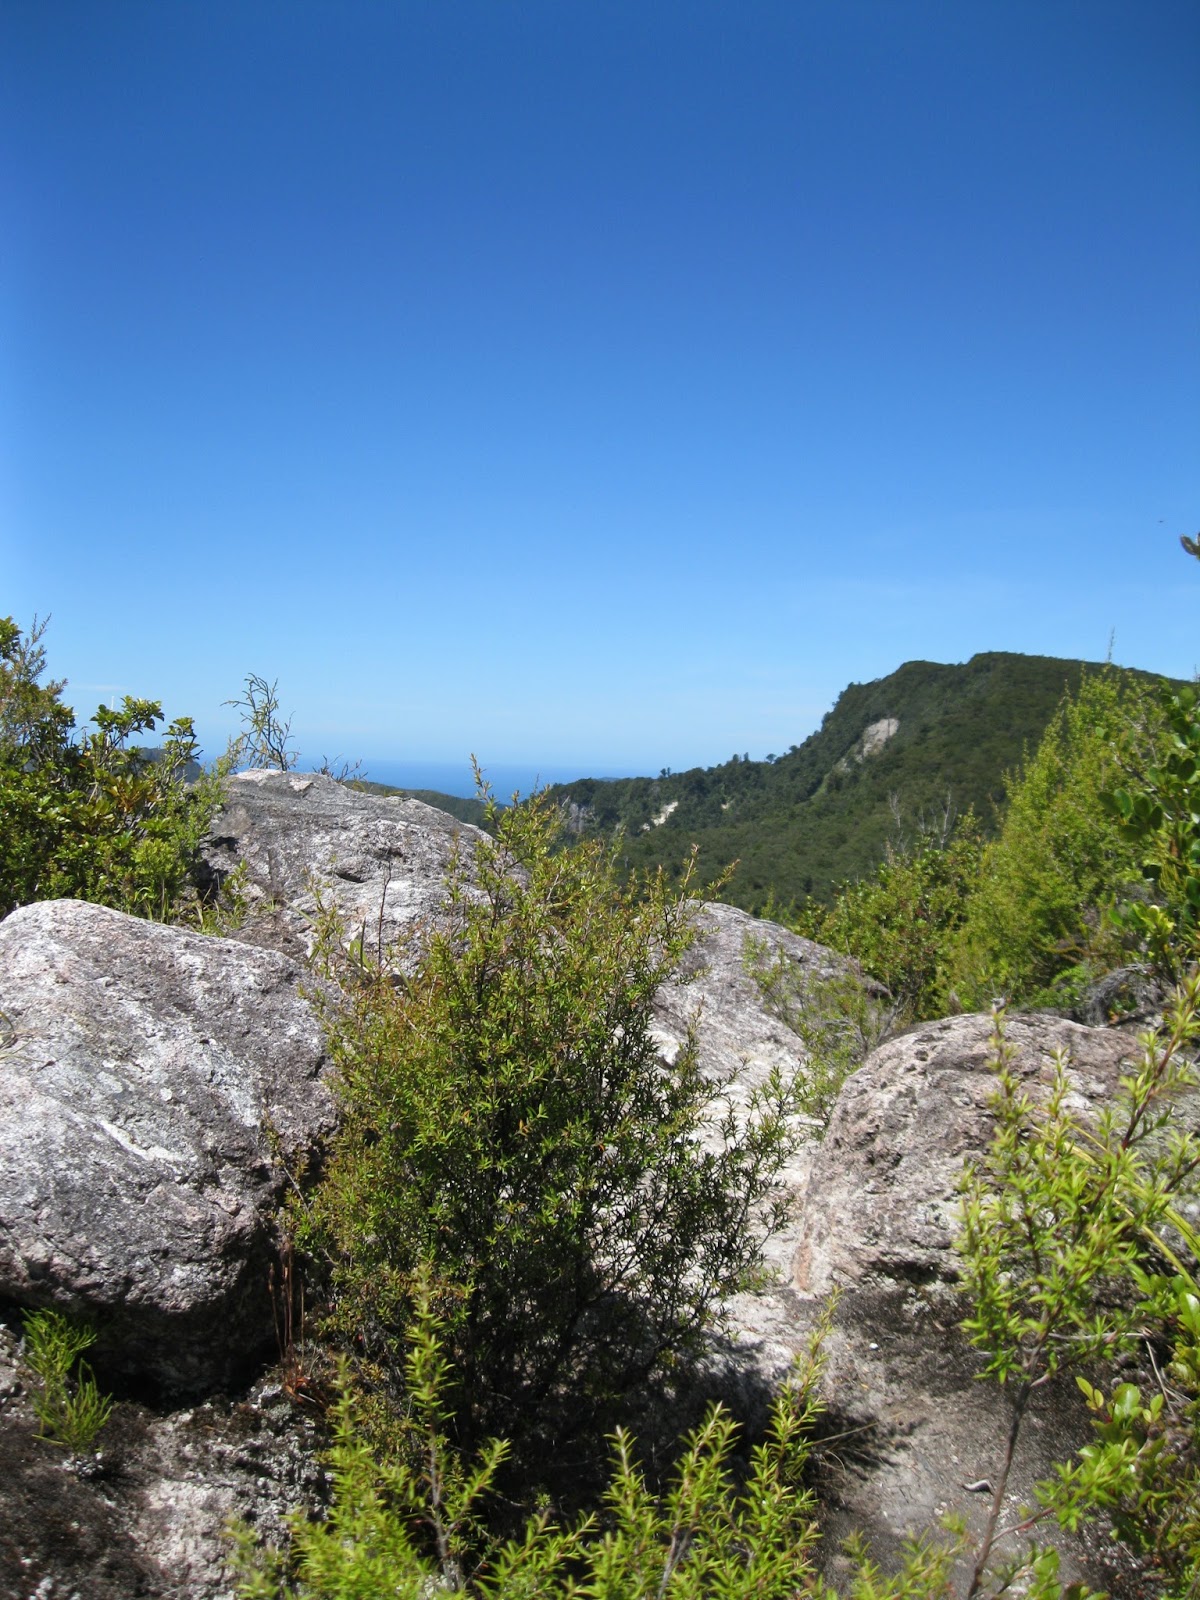
about 2 hours of this before we got to some higher rocky sections with some decent views. After this section it seemed like we had past the worst of it (we had) and that the track was nowhere near as hard as suggested, tough yes but more than manageable.
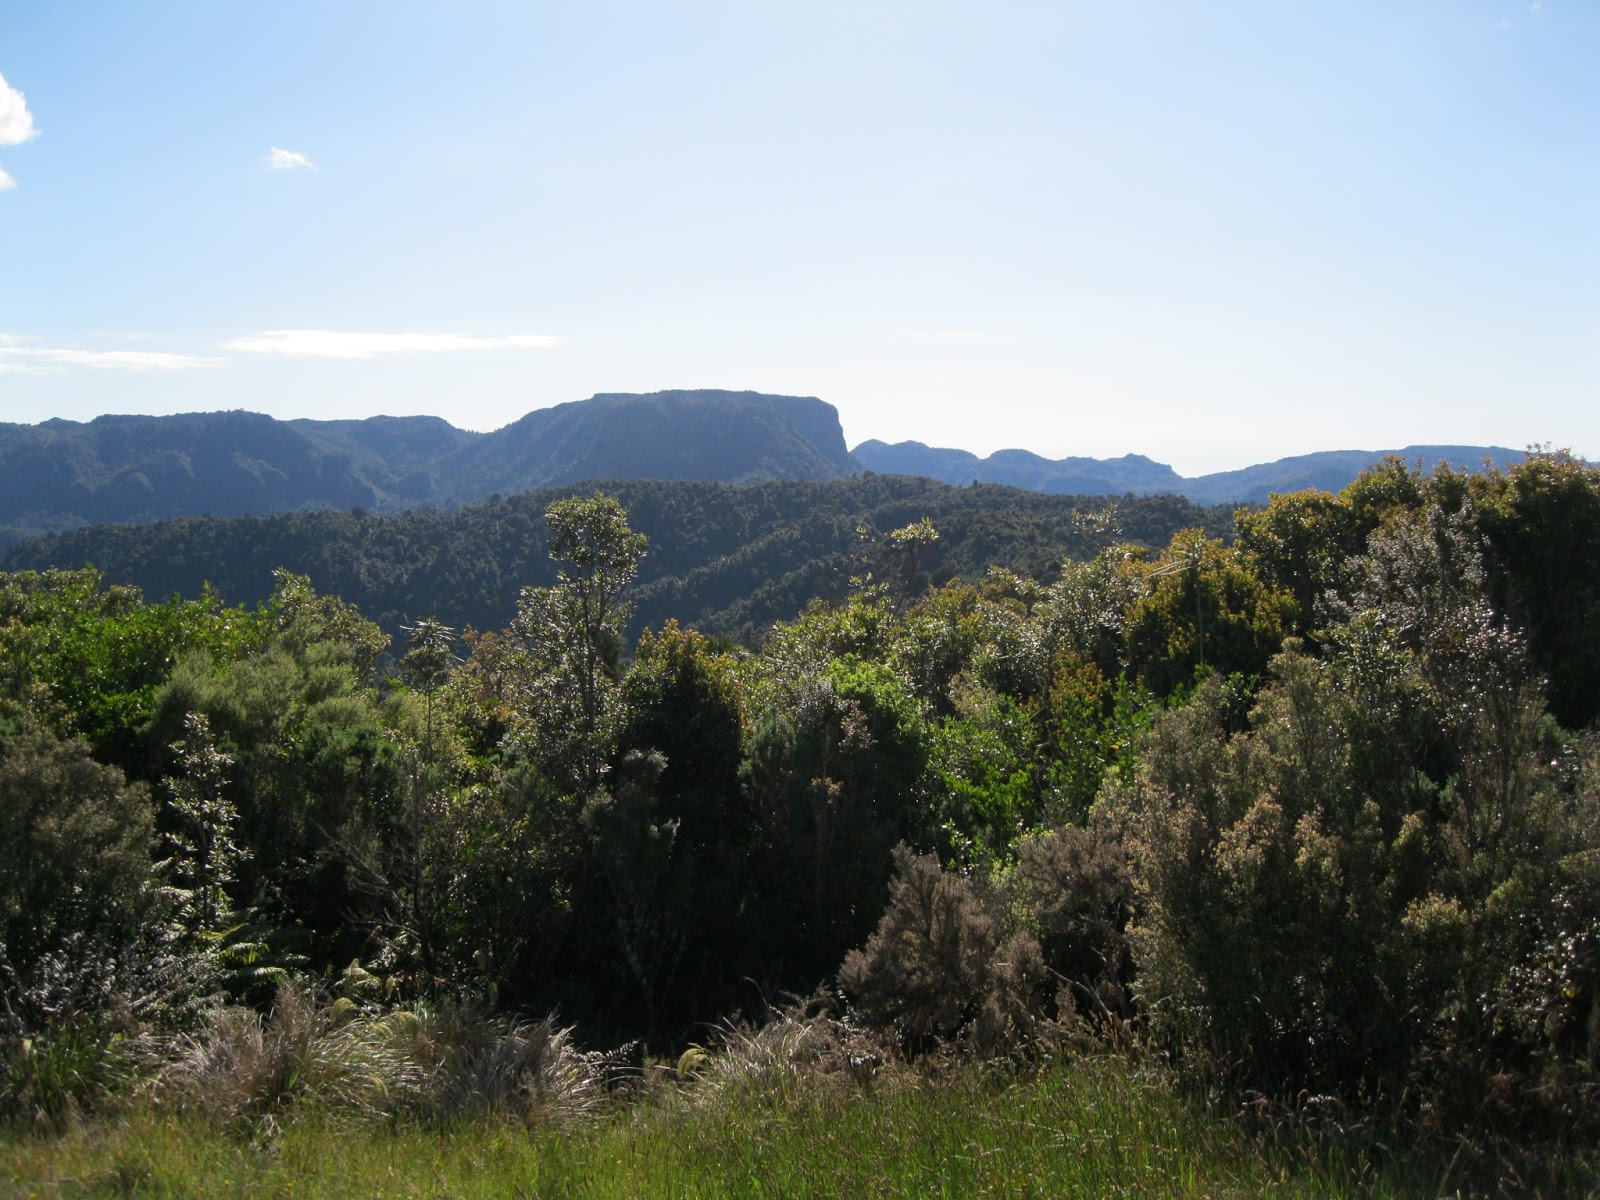

Table monutain
Easier going track

We took a break the junction with the Rangihau track (we have been going for just under 6 hours at this point) before moving into the last stretch. This section had some nice views of the range from a different angle to what I had previously seen. There was a little up and down, a little tough but the hut was getting close which helped. We made it to the hut in just under 8 hours so the track times were spot on.

This view of the Pinnacles means we're nearly at the hut

I dumped my big pack in the hut before heading up to the Pinnacles to take in the view and get some photos. The walk is listed as 50 minutes each way, but I made it in 50 minutes return. The Pinnacles are well worth the climb and would make for a great day trip with lunch at the hut.

On the way up to the pinnacles
Also at the top of the Pinnacles

The hut sleeps 70 people, and it’s a reasonable short, easy walk via the web track so there were a lot of families with kids at the hut, so maybe take a tent and camp if you want some quiet, although this time the hut wasn’t so bad.

The next day was an easy walk down via the Webb track taking only 2 hours 20 minutes.

I quite like this Forest Park for hiking (Crosbies hut on the other side of the valley is great too) so would definitely hike up again, maybe via the Rangihau track, but next time it might be good to camp for a slightly different experience.

Sunday 19 March 2017

Hiking Mt. Pirongia (Hihikiwi track)


This track is part of the Te Araroa trail which covers the length of New Zealand, the trail goes over the summit of Mt Pirongia via the Tahanui track to the north and the Hihikiwi track to the south. Previously I have walked most of the other main tracks up to the summit, but not the Hihikiwi track so I wanted to check this track out sometime this summer.

The DoC website listed this hike as 4-6 hours, so I thought it would be a reasonably easy hike, nothing too strenuous. I was even more at ease when I saw the sign post for 3 and a half hours to the hut at the start of the track, little did I know what we were in for.

An easy start to the track

The track started off quite easy nice track; gentle climbing and then we hit the mud. Long, wide sections of up to knee deep mud. The elevation gain remained fairly stead, but easy but the really difficulty was the mud. As much as we could we kept to the outside, and just off track to get around the mud but eventually you give up and reside to the fact that you are now wading through mud. There were sections of board walk, but they were few and far between. I probably took 3 hours to reach the lookout, and at least half of that would have been in the mud. 
Thats a lot of mud
Knee deep.

On the way up we saw a goat control hunter and had a chat to him, the previous day the team had killed 65 goats and would kill about 1000 in the season. Goats are an introduced pest which destroy the habitat of native birds, and prevent the re growth of a lot of regenerating native bush so however you feel about the killing of animals something has to be done about the goats.

We also meet a solo woman walking the Te Araroa trail North to South, she seemed like she was having a hard time with the mud, and we didn’t know at the time she had just passed the worst of it, and we were heading into it.

After the lookout was very easy going, the whole way to the hut was board walked. I plan had been to head from the hut over to the Cone to take some photos. I though the Cone was 30 minutes away, but I realised that it was an hour. Knowing that I would be an hour there and an hour back in more mud, I decided to give it a miss. It had only taken us 3:45 to get up to the hut, but the mud had sapped my energy for any more hiking that day.

The cone from the Lookout

Not far to go now
Had a relaxing afternoon chatting to people as that came up, the hut ended up quite full and it was great talking to different people, which direction they had taken, plans for the rest of the summer etc. The hut is great, nice big kitchen and dining area to cook and hang out in. The one down side was there weren’t any of the usual National Geographic’s or Time magazines one normal finds to read in huts like this so it was a bit of a long afternoon since the hike was so short. There is also a really well set up area for tents, and a cooking area for campers so I like to set up there with some friends some time.

The walk back the next day was much easier. We knew what we were getting ourselves in for with the mud, and had better strategies for getting around it, and finding better foot placements in shallower sections of mud. It only took 3:30 to get back down the Mountain. 

Chain to climb up, on the way back

I like Mt Pirongia, it has a great hut set up and amazing views but all the mud makes it difficult, no doubt I’ll hike up again, but maybe not via the Hihikiwi track. As one person put it, Pirongia is ‘a vertical swamp’.

Sunday 12 March 2017

Hike to Crosbies Hut - Coromandel Forest Park


This is a hike and hut I’ve wanted to check out for awhile and it seemed like a good length to bring along some hiking newbie’s. Not so long as to be daunting, but not so short as to be too easy and boring. The hut is quite a new 10 bed hut, so it would make for a nice hut to hang out at and stay the night. This was also to be a training hike for me to build up to the Kaimai Range, so my pack weighted 16kg, with a bunch of stuff I really didn’t need but I wanted a reasonable weight for training with.

The hike is listed at 4-6 hours so I decided to hike the long way up and the shorted way down. This is my usual strategy for having the harder day first, and the easier day second. Being that this day was only listed as 6 hours, and we had pre booked the hut we had plenty of time for the hike. I parked the car at boom flat at 11.30, and walked along the gravel road to Wainora camp site to start the walk. The start of the track was very easy, a wide gravel tourists track, then we hit the stairs. The stairs seemed to go up for an hour, I think we gained half of the elevation here on the stairs. 

Easy start
So many stairs

After the stairs we were in standard hiking terrain, not rough, but certainly not a tourist track. We continued to gain elevation slowly over the next hour or two before coming to a high tops section with some great views. We got to orange peel corner in 3 hours 45 minutes of walking with multiple short breaks. After a 20 minute break to chill out the rest of the way was pretty easy going.

Hands were a bit cold along the ridge line
Table mountain, not sure if there is an easy way to the top
This is all there is at orange peel corner
The last section of track before the hut meets up with a track coming in from Thames. I think this is the old track to Crosbies Settlement, now it appears to be a quad bike track at best. There are several tracks like this than converge onto the Crosbies hut area. I’d love to try them all out but I’d either have to organise transport from the different start and end points, or walk in and out on the same track. The total elevation gain for the track we took was approximately 600m, which is a fair bit considering the shorter distance of hike. I suspect on my own I could have made it up in 5 hours.

Last section of hike on an easy track

We arrived at the hut at about 5:30 (6 hours total including breaks) to a really cool hut and an amazing view. The hut is quite new, all one room with bucks for 10 people at one end, a coal fire place, bench and tables at the other end.

Very nice hut

My standard meal for an overnighter like this is a can of baked beans, cheese and sausages. This went down a treat, and was followed up with some very good red wine. I had carried the wine up for the four of us each to have a glass, little did I know that two others of the group had bought a bottle each as well, and only two of us felt like having a drink. I ended up drinking a bottle on my own which isn’t too much, but I don’t normally drink so it hit me pretty hard and made me a little slower the next day. It wasn’t too bad, but in future I’ll only ever share a bottle on a hike, never all on my own.

The view from the hut in the morning

The next day was quite an easy walk down via a different track back to booms campground. We left at 9AM and got back to the car just before 1pm with less than 4 hours for total hiking. So the track times for 4-6 hours are pretty much spot on.

Large kauri on the way down.

I really enjoyed this hike, the climb was slightly difficult but not too hard and it paid off with some great views both along the way and at the hut. The track was well marked and maintained. The hut itself was great and had everything you could want out of a hut. I’d definitely be happy to hike this track again. 

Sunday 5 March 2017

Hiking the Kaimai Range – Gear


For part one click here, and part two click here

My gear for this hike was very similar to the set up I had for Around Mt Ruapehu so this will be a bit of a comparison post. My pack started off at 20kg (including 3 litres of water), but finished at 13kg when I got home so it started quite heavy, but got much more manageable as time went on.

Looking a little worn on day three

My pack was the same 50 litre pack as I always use, which is a little small for this length of hike. To get around this, I strap my sleeping mat and other small bits to the outside of my pack, to give myself a little extra valuable pack space, this seems to work out very well. The sleeping bag I took on this trip was a 12°C which I paid $20 for (really good bargain). This bag was pretty much at its comfort limit, but I have a liner and thermals if I really needed them. The mat I have is short and thin, I’d love to upgrade to a thicker one, but this one does its job and I don’t really want to pay $300-$400 for a good light weight mat.

Sleeping mat in red on the outside of my pack

My clothes were much the same as a normal hike, light sports shirt and shorts, Gortex rain coat, and injinji compression socks. The only difference here was the amount, two full sets of clothes, new socks each day (5 pairs of long socks adds up to a lot) and a thermal top. The injini socks were great, the only negative I found was that during the day if I was in regular socks I could take them off to dry when we stopped to eat, however the injinji socks are such a pain to get on, taking them off for 15 minutes wasn’t really a viable option. The only major difference was the gloves I bought. I found some simple neoprene type material gloves. If wet they don’t hold a lot of water, so there worked out great for me.

Day one was spent in the gortex jacket
From another hike, but those are the gloves I use

Food and cooker was the same set up as usual. The only changes were note that I bought a block of chocolate, and a chocolate bar for after dinner each night (4 chocolate bars). This really helped as a nice treat and something to look forward too. However I did notice after eating at about 7pm I was hungry again at 9pm. I lost about 2kg on the hike, which I didn’t mind since I wanted to get leaner, but if you’re at your desired leanness I would suggest bringing even more food, possibly some dehydrated mashed potatoes and/or coconut oil to add to everything. This is something I may have to play with in future. Also to note I bought 5 apples with me, one for each day. It was nice to have something fresh to eat, but it did mean starting with a kilo of apples.

My standard cooking set up (wine on shorter hikes).

This trip I didn’t want to bring a tent, so I bought myself a bivi sack. I bought the terra nova moonlite, which is a small, light weight bag. It worked really well for me. I also bought a tarp so that I could set up my own shelter if the rain was pouring down. However it ended up easier to lay down my tarp as a ground sheet (3x3m tarp would have been better than my 2x3) and use a friend’s 3x3 light weight trap as the cover. This let all three of us fit in the one shelter. We were each in a bivi sack to stop any rain that happened to blow in, which it did, while trap blocked the worst of the rain. This set up worked really well since my bivi is really only for the lightest of rain, since it doesn’t have a water proof face cover.

Camp half way set up
The bivi bag I bought

All the other small things are pretty much as per my last big trip.